
In tubular crochet, the next step after completing the number of chains a pattern calls for is to connect the chain with a slip stitch. Our first series of beginner crochet patterns uses this simple method to teach you to crochet. The best thing about tubular crochet is you don’t need to keep track of rows, thus leaving your mind free to concentrate on stitches.
If you need assistance with other stitches, please refer to our previous tutorials (see tab above).
If you need a closer look at a step, click on the photo and it will enlarge. Use the back button on your browser to return to the page.
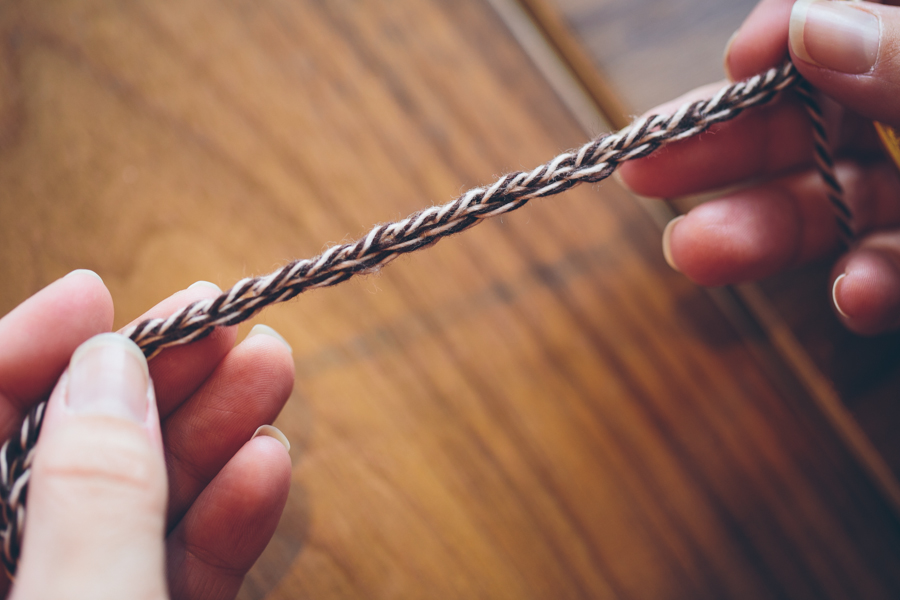 First, make sure the right side of the chain is facing you. When held horizontally, the chain should look like sideways “V’s”.
 The other side, or the wrong side, of the chain has a ridge along the middle.
 After making sure your chain is straight, insert hook into the first chain made.
 Hook inserted into first chain made. Two loops on hook.
 Yarn over hook (yoh).
 Pull the yoh through both loops on hook.
 One loop on hook. Your chain is now connected!
The next step in tubular crochet is to single crochet in each chain loop.
Tubular crochet patterns:
Coffee Cozy

Reblogged this on patternstriedandtrue and commented:
This is so cool. We can learn so much from each other!
LikeLike
This is so good to hear! We really want feedback on our tutorials. Thanks for reading! (p.s. I love that yarn! It’s “I Love This Cotton” from Hobby Lobby)
LikeLike
I love crocheting! This is a nice lesson, it’s easy to follow and has nice pictures. 🙂 The yarn used for this tutorial is very pretty!
LikeLike