

Favorite or Queue on Ravelry here.
This pattern and tutorial is for our Infinity Scarf. I teach crochet classes and I believe the best way to learn is by using the tubular crochet method. This method allows a beginner to repeat one stitch without turning rows. The beginner is then able to master that one stitch and complete a project all at once! If you’ve never tried to crochet, I would suggest making our Coffee Cozy before attempting the Infinity Scarf. This pattern requires connecting rows, and the coffee cozy does not.
In the following tutorial, we combine steps from some of our previous projects to achieve the beautifully versatile Infinity Scarf.
Materials: Hook size (M/N-13) 9 mm, 176 yards of bulky weight yarn
STEP ONE: Hook hold and cast on.
There are two ways to hold a hook: pencil and knife. Pencil: hold the hook as you would a pencil. Knife: hold the hook as you would a knife. Pretty self-explanatory, right? I crochet with the knife hold. If you use this method, don’t pretend you are going to cut carrots. Either way you choose to hold the hook, hold it as gently as possible. Feel how it rolls in your hand and between your fingers. Think of it as an extension of your body.
Casting on and chaining are the very basic beginnings of any crochet project, whether simple or complex. To understand crochet, one must learn to chain because every stitch has this basic skill at its root. Of course, without casting on, you can’t do anything! Casting on is slightly more challenging than chaining and while there are a few ways to do it, I will share my method with you.
Click on any picture to get a closer view.
Click the back button on your browser to return to this page.
Casting on:


Note: I am pinching the loop on the right as I draw through the loop on the left. Daintily show the loop who’s the boss!
Position your fingers in a way that is comfortable but lets you do what you want with the yarn and hook. Don’t be concerned about form or doing it the right way. You need to get used to the yarn and hook in your hand and really make it an extension of your body!

STEP TWO: Chaining


Note: When counting chains, never count the loop on your hook. Only count the ones hanging down. In this picture, there is only one chain made.
Chains are made in two steps: yarn over hook (yoh), then draw yoh through loop.
Practice making chains until you are comfortable with the process. Once you feel comfortable making chains and casting on, let’s get to the fun part – creating your infinity scarf. I know, your brain feels full right now, but you just have one stitch and a few techniques to learn!
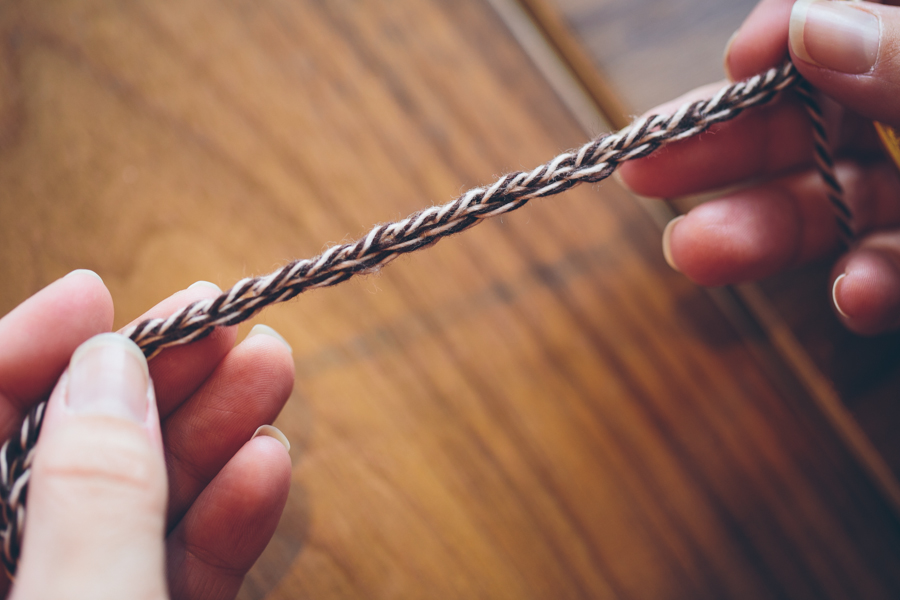
STEP THREE: Chain (ch) 125 (or number of chains to reach desired length)
STEP FOUR: Connect your chain with a slip stitch (sl st)


STEP FIVE: Chain (ch) 3, double crochet (dc) in each ch loop
Note: A chain has three different loops. We will be working in the top loop that is the loosest and most easy to work under. Once stitches are worked in the chain, the other two loops appear to be twisted together at the bottom of the chain.
Click on the picture above to get a closer look. Or, better yet, observe your own chain and notice the way it loops. The front of the chain looks like a series of sideways V’s. The back has a ridge. The top loop of the sideways V is where we work one stitch before we move to the next top loop and work another stitch.
Observe where you pulled up the last loop when you connected your chain. As you can see in the picture above, you will insert your hook in the chain loop right beneath the loop you just pulled through. Turn the chain so it is horizontal and the sideways V’s are facing you.
Row 1: Follow picture directions below. Please note on this row you are working in the chain and not in the stitch. The photos show the steps for a double crochet in the stitch. Read the instructions to help you with the distinction.


To create the next stitch, repeat steps 1 – 10 in the next chain space or stitch.
Row 1 is complete once a dc is worked in each chain around the circle.
STEP SIX: Connect row with a slip stitch (sl st).


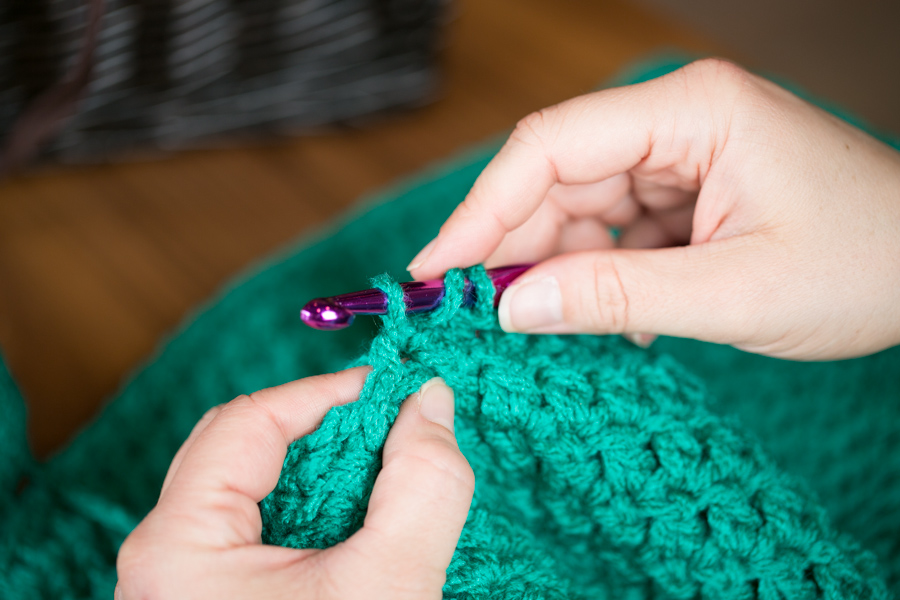
STEP SEVEN: dc in each dc around each row until you have six completed rows.
Double crochet steps:
1. Yarn over hook (yoh).
2. Insert hook under both loops of next stitch.
2. Yoh.
3. Draw yoh through stitch.
4. Yoh.
5. Draw yoh through two loops on hook.
6. Yoh.
7. Draw yoh through two remaining loops.
8. One loop remains; one dc complete.
STEP EIGHT: Finish off and tie
If you want to read all about why I tie the loose ends of yarn instead of weaving them in, you can visit the Finish off and tie tutorial. But if you are ready to finish your infinity scarf, continue scrolling. The tutorial for our coffee cozy finishes in exactly the same way, so let’s review finishing and tying techniques. You are almost done!
Finish off:


Tie:


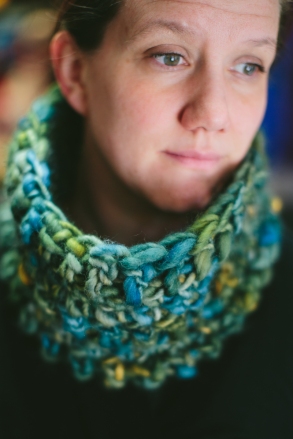
Congratulations! You’ve completed your Infinity Scarf! See below for a simplified version of the pattern.
~~~~~~~~~~~~~~~~~~~~~~~~~~~~~~~~~~~~~~~~~~~~~~~~~~~~~~~~~~~~~~~~~~~
Click the picture for more information.
We made a pretty big decision recently at The Firefly Hook. We don’t want to have a website with ads to earn income from what we do. We want to create with you, help you learn something about crocheting, and get you excited about inspiring others!
So, how can you support us?
Share our free patterns, tutorials, and crochet tips with your friends!
Check out our Etsy, Ravelry, and Craftsy shops and purchase patterns from us. We have a coupon for our blog friends that you can use on Etsy and Ravelry for a 20% discount: BLOGFRIENDS2014.
Let us know if you have any questions by commenting below or by visiting our Ask Abbey page.
Happy crocheting!
~Abbey
~~~~~~~~~~~~~~~~~~~~~~~~~~~~~~~~~~~~~~~~~~~~~~~~~~~~~~~~~~~~~
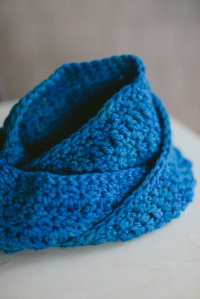
Bamboo Infinity Scarf
Yarn: Hobby Lobby’s Yarn Bee “Debut” (2 skeins)
Yarn Weight: 5 Bulky
Color: Aquamarine
Hook: Size (M/N-13) 9 mm
Gauge: 9 sts and 4 rows = 4” in dc
Skill Level: 1 Beginner (first time crocheter)
Necessary skills: Basic stitches
Abbreviations:
chain (ch)
double crochet (dc)
each (ea)
slip stitch (sl st)
stitch (st)
Pattern:
Ch 125.
Join ch (sl st in 1st ch made).
Row 1: Ch 3 (counts as 1st dc), dc in ea ch loop, sl st in 1st dc made to connect row (125 total).
Rows 2-6: Ch 3 (counts as 1st dc), dc in ea st, sl st in 1st dc made to connect row (125 total).
Finish off, weave in ends.
Favorite or Queue on Ravelry here.
~~~~~~~~~~~~~~~~~~~~~~~~~~~~~~~~~~~~~~~~~~~~~~~~~~~~~~~~~~~~~

this is the best demonstration of how to crochet that I have seen. My mother taught me to crochet, so I have never had instructions. It is great for beginners, thank you
LikeLike
Since retiring last year I have become addicted to crocheting! I have enjoyed making simple scarves, hats, place mats and shawls but I stick to the “easy” patterns. I learned by reading crochet books; however, I want you to know that this tutorial is absolutely wonderful! I wish I had seen it when I first began. It would have saved hours of frustration in figuring it out on my own! I have printed this and will share it with a friend who is just choosing the color of her yarn to make a first project! Many thanks for your kindness and generosity in sharing your knowledge with all of us!
LikeLike
Thank you so much for your kind words! I’m so glad you enjoyed the pattern and tutorial. We come out with new free patterns about once a month and have Etsy and Ravelry shops full of patterns for sale. I spend a lot of time teaching people to crochet – both seasoned and first timers! I’ve learned what works and what doesn’t for a first time project. The only trick with this pattern is getting the chain and initial row straight, then after that it’s super easy:) I hope your friend enjoys it!
Thanks for stopping by,
Abbey
LikeLike
Thanks for sharing this free tutorial, especially for the beginner. It is very informative, and you detailed very well all the steps everyone needs to know. It is a worth-reading article; no one will be bored reading and following this tutorial. Keep it up and wishing you all the best for your success.
LikeLike