
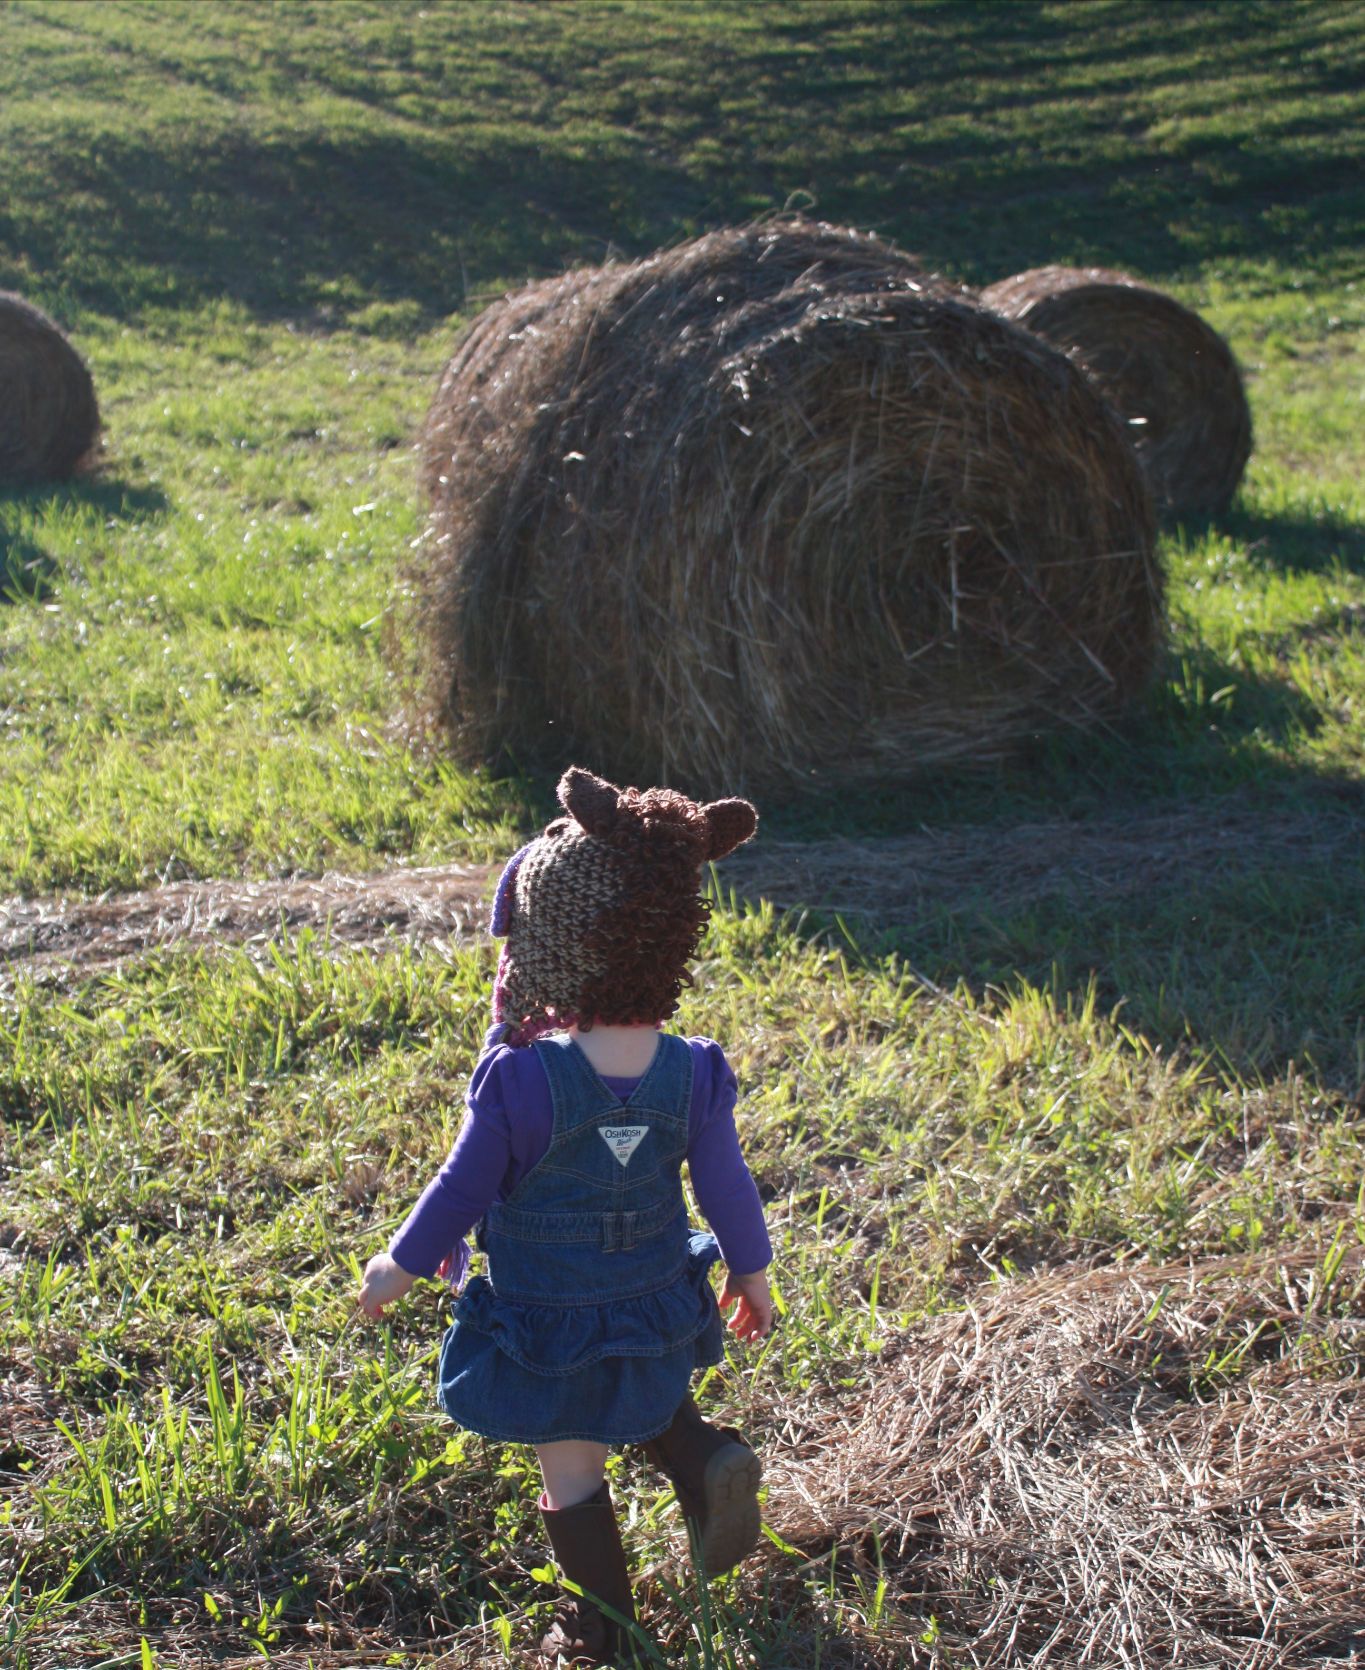
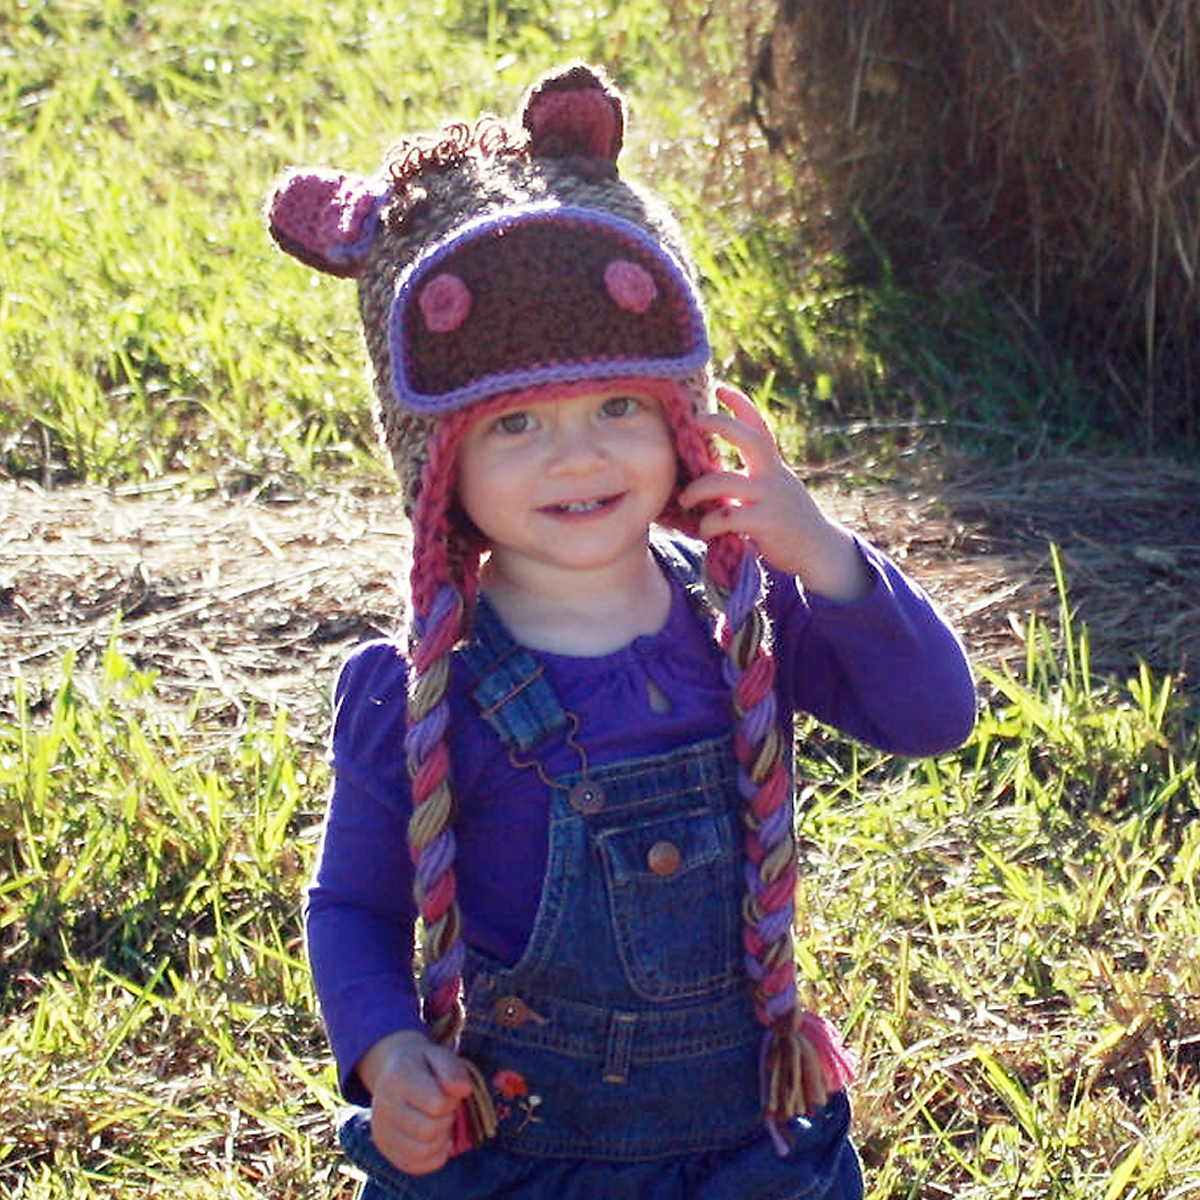
This horse hat started the pattern bonanza! It is the first pattern I ever wrote for someone else to follow. I started making animal hats for people and just followed the patterns I designed and memorized in my brain. Someone contacted me on Etsy and asked if I would write this pattern so they could make it… and thus began my journey into pattern writing.
Where would I be without my customers? I made this hat for the sweet girl pictured in all the photos. Her mom used the hat for a costume. But first, her daughter ran around the farm while her mom took pictures. She then sent me the photos and gave me permission to use them. I love seeing my animal hat on the kiddo I made it for. It’s an incredible blessing.
Favorite or Queue on Ravelry here.

Horse Hat Pattern
Yarn: I Love is Yarn®
160 Brown (CA)
150 Toasted Almond (CB)
105 Old Rose (CC)
292 Amethyst (CD)
Yarn weight: Worsted
Hook sizes: 5.5 mm and 11.5 mm
Sizes:
6–12 months
Toddler/Child
Teen/Adult
Large Adult
Notes: When working in the round: work initial sts in 1st chain made and over tail of yarn to be tightened when work is finished.
BASE OF HAT
Yarn: CA and CB
Hook: 11.5 mm
Rows worked in the round with CA and CB together
All Sizes:
Row 1: Ch 3 (counts as 1 dc), 9 dc in 1st ch. (10 sts total) Do not connect, place row marker.
Row 2: 2 sc in the top of 1st dc made, 2 sc in ea dc around. (20 sts)
Row 3: 2 sc in 1st sc made from row 2, [1 sc in next sc, 2 sc in next sc] 10 xs. (30 sts)
Row 4 (based on size):
6-12 Month Size: Sc in ea sc. (30 sts)
Toddler/Child Size: [Sc in next sc, 2 sc in next sc] 2 xs, sc in ea sc around. (32 sts)
Teen/Adult Size: [1 sc in ea of the next 5 sts, 2 sc in 6th st] 5 xs. (35 sts)
Large Adult Size: [1 sc in ea of the next 2 sts, 2 sc in 3th st] 10 xs. (40 sts)
Following rows (based on size):
6-12 Months Rows 5-14: Sc in ea sc. (30 sts in ea row) Do not cast off.
Toddler/Child Rows 5-15: Sc in ea sc. (32 sts in ea row) Do not cast off.
Teen/ Adult Rows 5-16: Sc in ea sc. (35 sts in ea row) Do not cast off.
Large Adult Rows 5-17: Sc in ea sc. (40 sts in ea row) Do not cast off.
FASHIONING THE EAR FLAPS
1st Ear Flap:
Beg where you finished final row of hat base.
Row 1: Ch 1, turn, sc in next 8 sts, ch 1, turn. (8 sc)
Row 2: Sc2tog, sc in next 4 sts, sc2tog, ch 1, turn. (6 sts)
Row 3: Sc2tog, sc in next 2 sts, sc2tog, ch 1, turn. (4 sts)
Row 4: [Sc2tog] twice, ch 2, turn. (2 sts)
Row 5: Skip 1st sc, 1 sc in last st. (1 st)
Cast off leaving 10” for braiding later.
2nd Ear Flap:
Attach yarn 7 st after last ear flap with rs facing.
Fashion identical to the 1st ear flap by repeating rows 1-5.
TRIM OF HAT
Yarn: CC Hook: 11.5 mm
Attach yarn at the back of hat between the ear flaps where there are 7 sts between them.
Row 1: Sc in ea st and along sides of ear flap rows, sl st in 1st sc made. Cast off.
BRAIDS
Using CB, CC and CD cut 10 strands of each color 30” in length (or desired length). Loop 5 of each color around bottom of each ear flap, braid to desired length and tie.
NOSTRILS (Make 2)
Yarn: CC
Hook: 5.5 mm
Rows worked in the round.
Row 1: Ch 2, 8 sc in 1st ch made.
Row 2: Sl st in ea sc made in row 1.
Cast off. Leave 6” yarn for sewing.
MUZZLE
Yarn: CA, CC, CD
Hook: 5.5 mm
First 4 rows worked in rows turned to form a half circle, final two rows are worked around the half circle without turning to create a trim around the straight and round edges. Switch to new color when instructed on the last yarn over of the last stitch of the old color.
Row 1: (CA) Ch 3 (counts as 1 dc), 7 dc in 1st ch. (8 dc) Do not connect.
Row 2: Ch 2 (counts as 1 dc), turn, work 1 dc in same st as ch, 2 dc in ea st around. (16 dc)
Row 3: Ch 2, (counts as 1 dc), turn, work 1 dc in same st as ch, [dc in next st, 2 dc in next st] 6 xs. (22 dc)
Row 4: Ch 2, turn, work 1 dc in same st as ch, [dc in next st, 2 dc in next st] 9 xs. (31 dc)
Row 5: (CC) Ch 1, sc along straight edge of half circle (16 total), (continue around half circle working in the dcs from row 4) 2 sc in 1st dc, 1 sc in ea dc until last dc, work 2 sc, sl st to join row.
Row 6: (CD) RS Ch 1, 1 sc in ea next 16 sts, 2 sc in next st, 1 sc in ea next 28 sc, 2 sc in last st, sl st to join row.
Cast off.
Sew nostrils onto muzzle as shown in picture.
Sew muzzle onto hat as shown in the picture.
 EYES (Make 2)
Yarn: CA
Hook: 5.5 mm
Rows worked in the round.
Row 1: Ch 2, sc 8 xs in 1st ch made.
Row 2: Sl st in ea sc made in row 1.
Cast off. Leave 6” yarn for sewing.
Sew onto hat above the muzzle as shown in picture.
EARS
Inner ear: (Make 2)
Yarn: CC
Hook: 5.5 mm
Row 1: Ch 5, sk 1st ch, sc in next ch and in ea rem ch. (4 sc)
Rows 2-6: Ch 1, turn, sc in ea sc. (4 sc)
Row 7: Ch 1, turn, sc2tog, sc2tog. (2 sts)
Row 8: Ch 1, turn, sc2tog. (1 st)
Cast off. Leave 6” for sewing.
Outer ear: (Make 2)
Yarn: CA
Hook: 5.5 mm
Row 1: Ch 6, sk 1st ch, sc in next ch and in ea rem ch. (5 sc)
Rows 2 – 8: Ch 1, turn, sc in ea sc. (5 sc)
Row 9: Ch 1, turn, sc2tog, sc, sc2tog. (3 sts)
Row 10: Ch 1, turn, sc, sc2tog. (2 sts)
Row 11: Ch 1, turn, sc2tog. (1 st)
Cast off. Leave 6” for sewing.
Sew pink ears on top of brown ears using pink yarn. Try to hide the pink yarn so it doesn’t show behind the brown ears. Sew ears onto top of hat using the brown yarn.
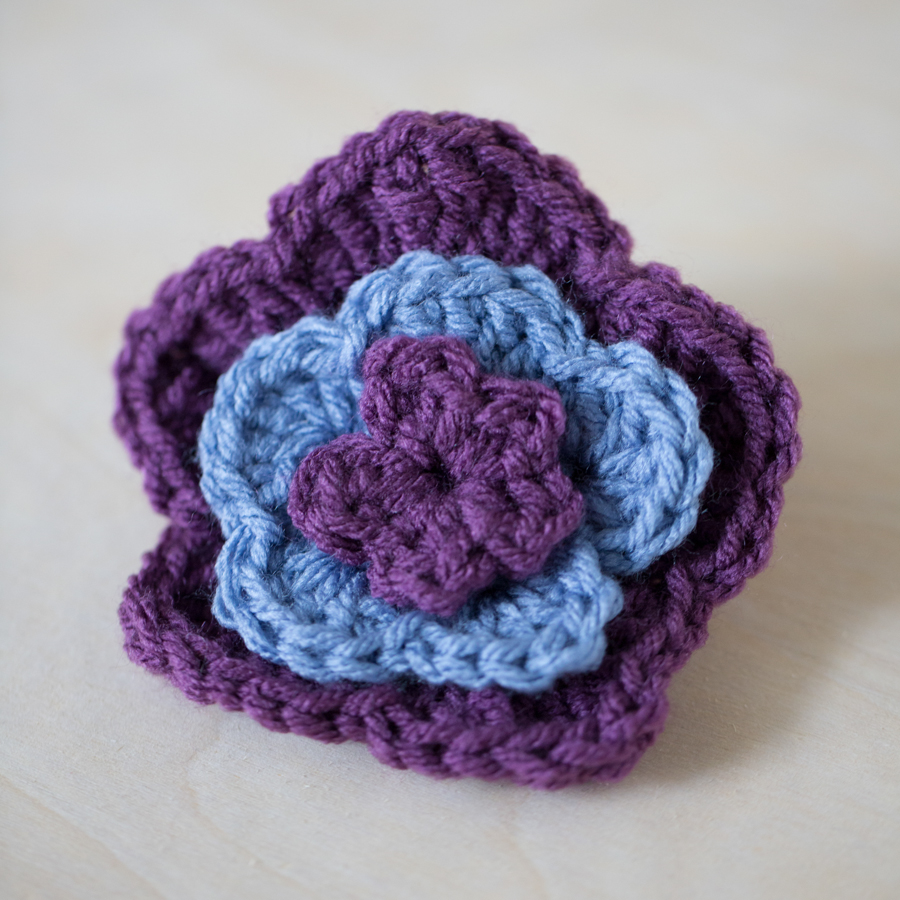
FLOWERS
Hook: 5.5 mm
Rows worked in the round.
SMALLER:
Yarn: CD
Row 1: Ch 3, in 1st ch work sts in this sequence: 2 dc, 1 sc (1 petal made), [3 dc, 1 sc] 4 xs.
Finish off leaving 6” for sewing. Tighten tail from ch to close hole in center.
LARGER:
Yarn: CC
Row 1: Ch 3 (counts as 1st dc), work 9 dc in 3rd chain from hook, sl st at the top of 1st dc (10 dc total).
Row 2: Ch 2, 4 dc in next st (1 petal made), [sc in next st, ch 2, 4 dc in next st] 4 xs, sl st in base of 1st ch-2 in row 2 (five petals made). Finish off.
Sew smaller flower on top of larger flower.
Sew flower onto hat by an ear as shown in the picture.
MANE
Using 2 strands of CA
After sewing all other pieces to the hat you can begin working on the mane. Starting at the back of the hat on the brim you will work sts over the sc from the base of hat. Lay hat flat and centered. Find the center of the hat between the horse’s ears. Attach yarn three stitches to the right of center at the brim. Draw a loop up about an inch in length by pulling on your hook. *Remove hook. Insert hook into next st and pull a loop up. Sl st around next sc. Draw a loop up about an inch in length. Work six loops across row. Insert hook into next row starting at the st above last loop made and pull a loop up.* Rep * to * up to the ears, between them, then down to a few rows above the eyes.
Thanks for stopping by!
We made a pretty big decision recently at The Firefly Hook. We don’t want to have a website with ads to earn income from what we do. We want to create with you, help you learn something about crocheting, and get you excited about inspiring others!
So, how can you support us?
Share our free patterns, tutorials, and crochet tips with your friends!
Check out our Etsy, Ravelry, and Craftsy shops and purchase patterns from us. We have a coupon for our blog friends that you can use on Etsy and Ravelry for a 20% discount: BLOGFRIENDS2014.
Here’s another happy animal hat pattern available in our shops:
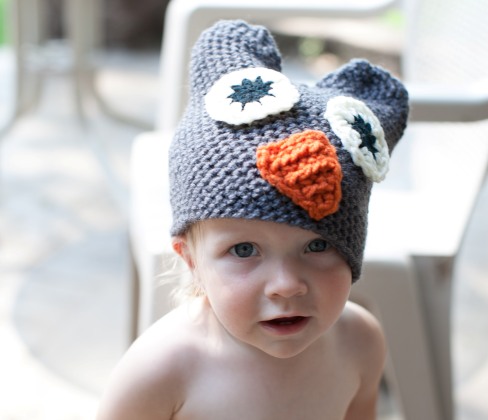
Click on the photo for more information.
Happy crocheting and let us know if you have questions!
~Abbey
Abbreviations:
CA – Color A
CB – Color B
CC – Color C
CD – Color D
Ch – Chain
Sc – Single Crochet
Dc – Double Crochet
Rep – Repeat
Sc2tog* – single crochet two together
Rem – Remaining
St(s) – Stitch(es)
Ea – Each
Sl St – Slip Stitch
Tog – Together
RS – Right Side
WS – Wrong Side
Sk – Skip
Xs – Times
Favorite or Queue on Ravelry here.

I cannot figure out how to do the mane. Help needed!!
‘h
LikeLike
Hello!
Thanks for stopping by:)
For the mane you are drawing loops up with your hook, slip stitch, then cinch the slip stitch tight so it is secure, remove your hook and repeat the process in the next stitch/space. You work the mane last and are working on the surface of the hat.
I hope this helps. It’s tricky to offer help when I can’t see your project, but let me know if I can offer any more assistance.
Warmly,
Abbey
LikeLike
Amazing hat! I really look forward to making it for my niece! I only have one problem, I do not have an 11.5 mm hook 😦 would there be any other way of making this without it? My biggest hook is 6.5 mm.
Thank you!
LikeLike
Hello!
Thanks for visiting The Firefly Hook!
Well, you can make most of the hat with a smaller hook but the base of the hat is crocheted using two strands at the same time so even your 6.5 mm will be too small. I think having a 10 – 12 mm hook is great to have on hand for bulkier yarn (or when using two strands of worsted yarn like in this pattern) but you can also crochet a beanie in worsted weight yarn and a 5.5 mm hook and add all the horsey extras to it. Let us know if you have any more questions.
Warmly,
Abbey
LikeLike
What an awesome hat I love making hats for my grandchildren and I’m sure this one will be a hit.
LikeLike
I hope they love it!
Thanks for stopping by,
Abbey
LikeLike
so adorable. I am going to try this. I am also looking for a hat of the same style but a fox. Any ideas where I might find a pattern?
Thanks,
pamrrrt47@yahoo.com
LikeLike
Hi Pamela!
Thanks so much for stopping by. I have a myriad of animal hat patterns in my brain but this is the only one I have written right now. I used to sell hats on Etsy and am now writing patterns. I even have a fox hat! I will let you know if I come across a good one but stay tuned – we will have a fox hat pattern soon…
Warmly,
Abbey
LikeLike
Very fabulous design! Shared the link on FB – thank you for sharing such a great free pattern! Rhondda
LikeLike
Thank you so much!
LikeLike