
This tutorial will show how to close your cinch hat once you are finished crocheting. We will close the hat using the tail of yarn from your chain at the beginning.
If you need assistance with other stitches, please refer to our previous tutorials (see tab above).
If you need a closer look at a step, click on the photo and it will enlarge. Use the back button on your browser to return to the page.
 1. Count 5 stitches.
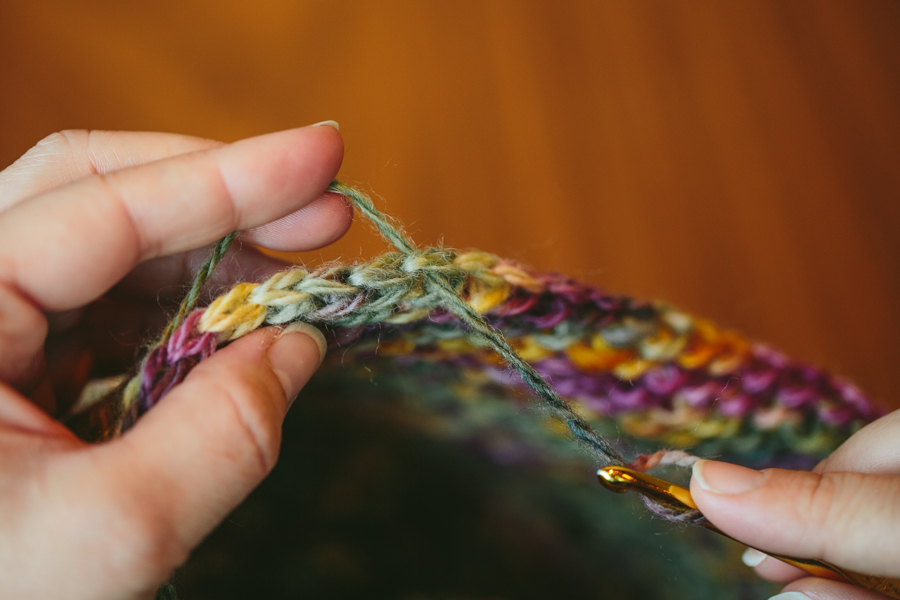 2. Insert hook and pull yarn through the stitch from the right side to the wrong side of the hat.
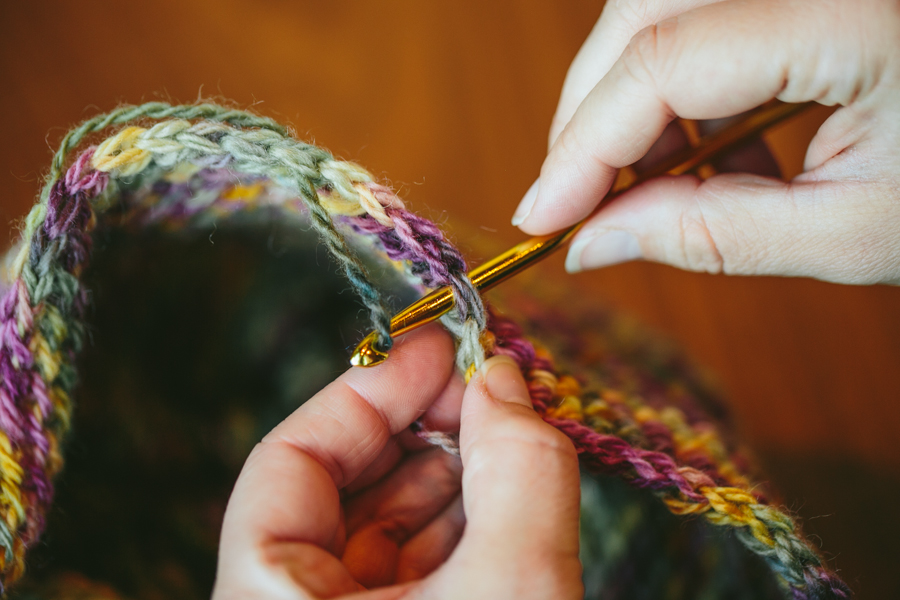 3. Count 5 stitches. Insert hook and pull yarn through the stitch from the wrong side to the right side of the hat.
 Repeat steps 1-3 around the hat.
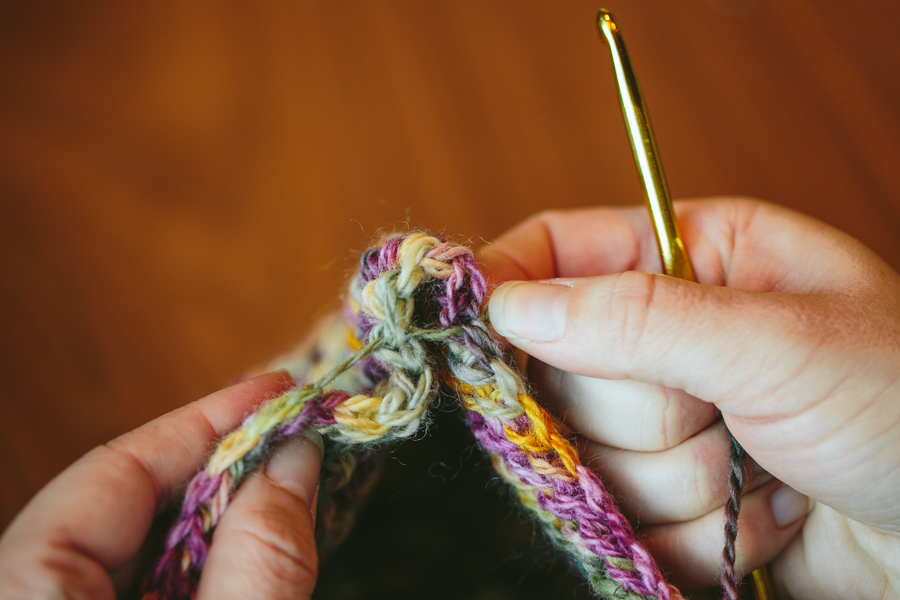 Pull on the yarn and cinch together.
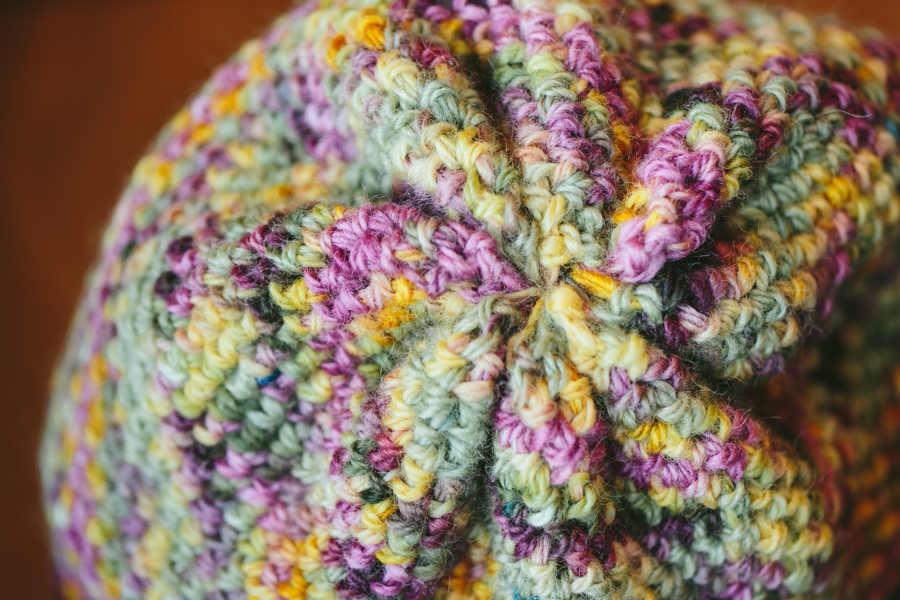 Pull until hole is completely hidden and then tie yarn on the inside of the hat. The cinch needs to be nice and snug, but never pull yarn on any project so tight that it warps any stitches or rows. If the cinch is too loose, there will be a visible hole at the top. Your finished hat will resemple a tight spiral at the top when it is cinched properly.
Happy crocheting!

1 thought on “Tutorial: How to make a cinch (for the cinch hat)”